Author: Huang Publish Time: 25-03-2026 Origin: Site


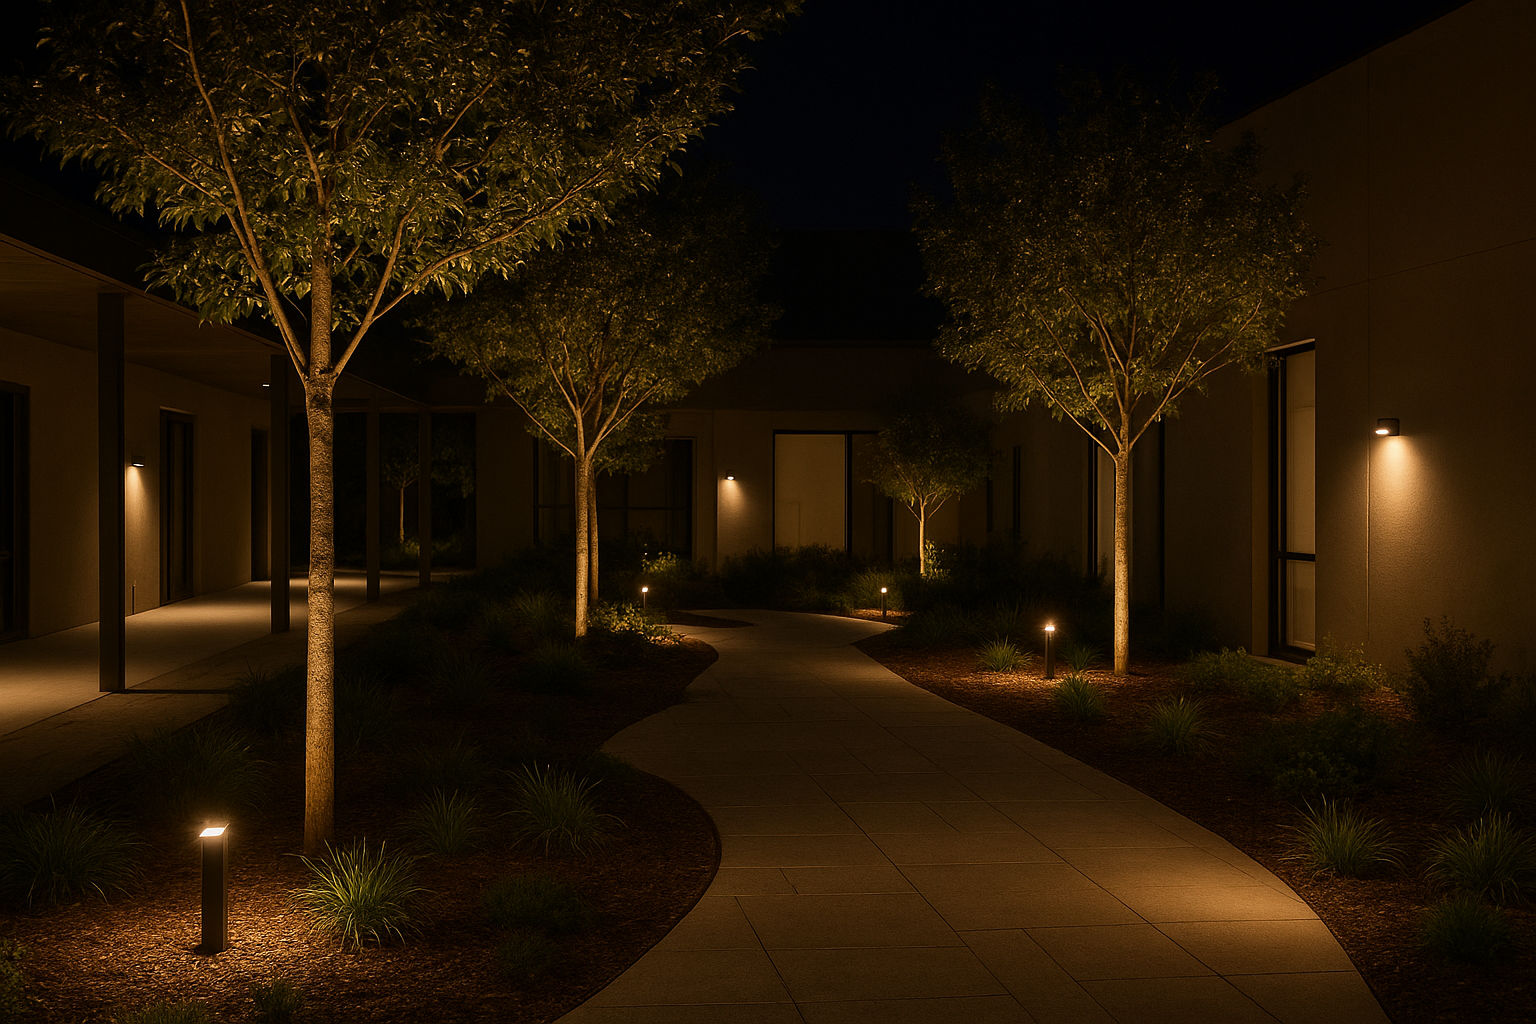
Hotels, courtyards, and landscapes prioritizing a clean look and rapid deployment: choose integrated/all-in-one units; they typically install in minutes with minimal cabling and fewer tamper points.
Industrial yards and warehouse perimeters needing longer winter runtimes or higher output: choose split-type systems; they support larger, tiltable panels and bigger batteries for steadier illumination in low-sun seasons.
Before we compare, let’s align on language. In outdoor solar lighting, “integrated/all-in-one” and “split-type” describe how the panel, battery, controller, and LED head are packaged. If you want a deeper backgrounder specific to street-light architecture that also applies to flood lights, see KEOU’s neutral explainer in the educational archive: Integrated vs Split Solar Street Lights: 2026 Guide — KEOU Lighting.
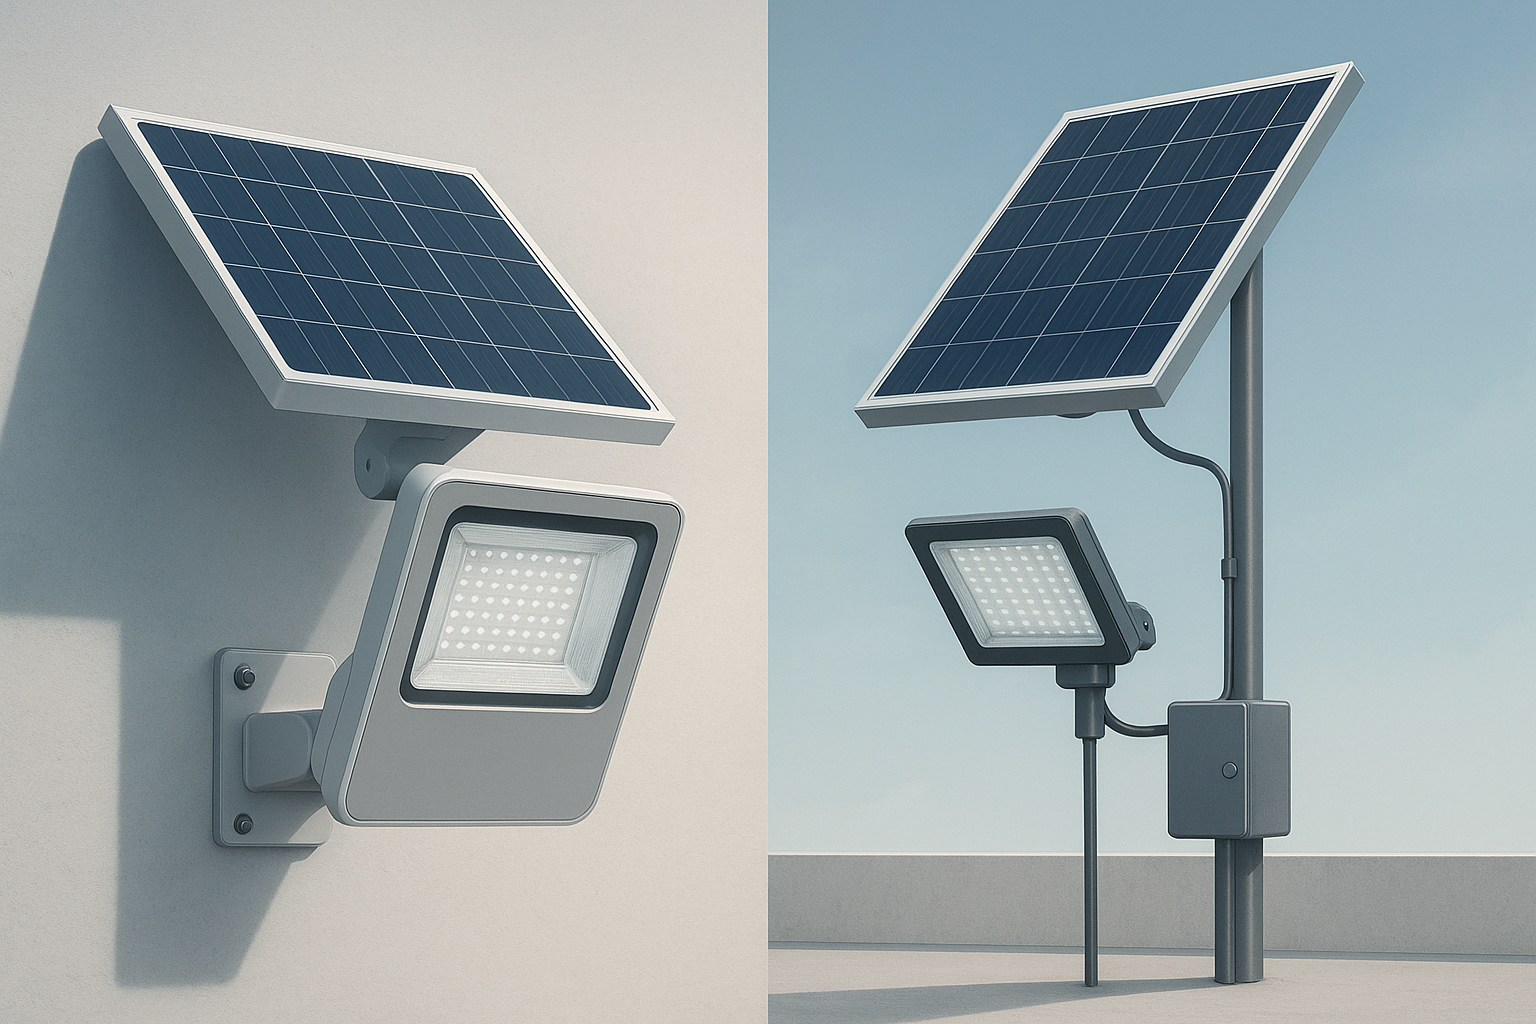
One compact housing contains the solar panel, Li-ion/LiFePO4 battery, controller, and LEDs.
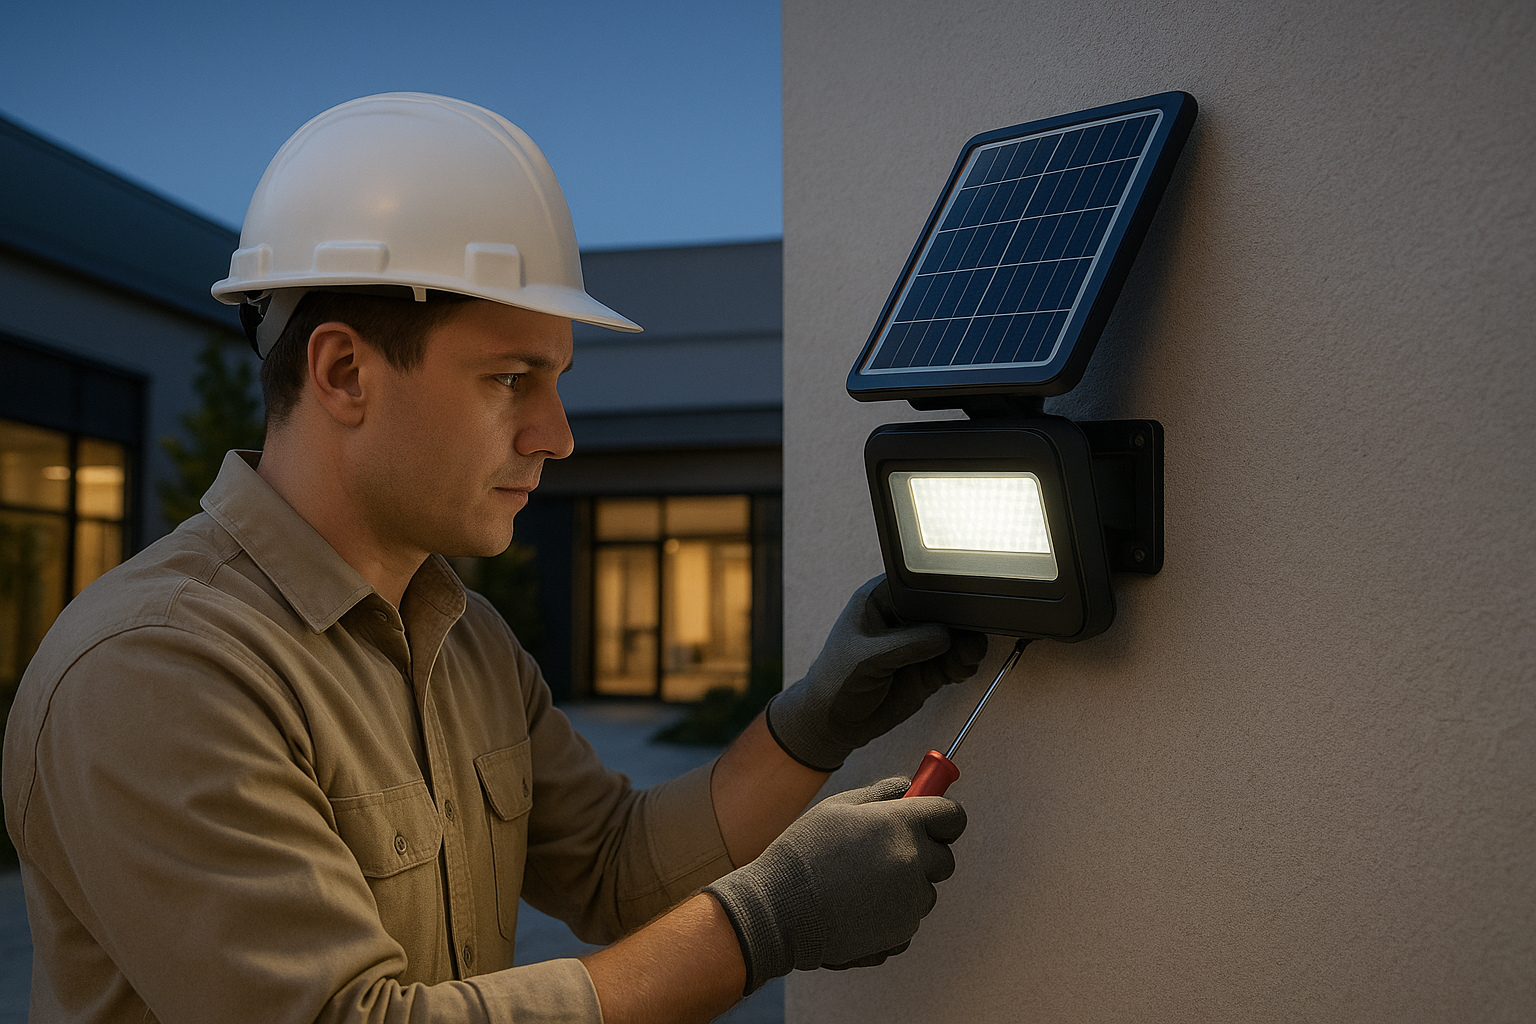
Mounts to a wall, pole, or arm with a few fasteners; commissioning is typically plug-and-play.
Strengths you’ll notice on site: very fast installs, minimal visible wiring, and a cleaner profile for guest-facing areas.
The PV panel, battery/controller enclosure, and LED flood head are separate, connected by cabling.
“All-in-two” or “semi-integrated” often means the LED head includes the battery/controller while the panel is separate; verify diagrams per vendor.
What that means on site: more planning and parts, but headroom to use larger, optimally tilted panels and larger batteries for stable light during long winter nights.
Below is a quick, installation-first look at split vs integrated solar flood lights. Where claims depend on specific models, treat them as tendencies and verify during procurement with datasheets and manuals.
| Dimension | Integrated (All-in-One) | Split-Type |
Installation complexity & time | One-piece mounting; no external cabling between components; documented cases show installs in about 3–10 minutes per unit according to Sunna Design case notes (2024–2025) and HeiSolar AIO pages (2024–2025). | Multiple components to mount and connect (panel, head, battery/controller); requires panel alignment and secure cable routing; typically longer install time. |
Maintenance & serviceability | Fewer parts to manage; some models require head replacement when batteries age. | Modular by design; battery/controller swaps can be done at enclosure level on many systems, easing component-level servicing (model-dependent). |
Low-sun/winter performance | Enclosure size limits panel/battery headroom; fixed/limited tilt on many models. | Supports larger, tiltable panels and larger batteries; often delivers better low-sun endurance. |
Aesthetics & footprint | Clean, compact look; minimal visible cabling—well-suited to guest-facing venues. | More visible hardware and cabling; larger footprint, especially where ground cabinets are used. |
Anti-theft & tamper | Fewer exposed parts and cables tends to lower tamper exposure; supported by field anecdotes such as Clodesun’s rural deployments (2024–2025). | Separate panels, wiring, and enclosures introduce more tamper points; anti-theft fasteners/enclosures recommended. |
Scalability & brightness headroom | Convenient for light-to-medium output needs; enclosure limits upsizing. | Easier to scale with larger PV/battery configurations to support higher illuminance or longer autonomy. |
Controls & modes | Common options: dusk-to-dawn, timer dimming blocks, PIR/microwave motion boost; some lines add remotes/telemetry—see HeiSolar AIO families. | Similar control sets available across vendors; architecture doesn’t limit control choices; verify sensor placements and wiring. |
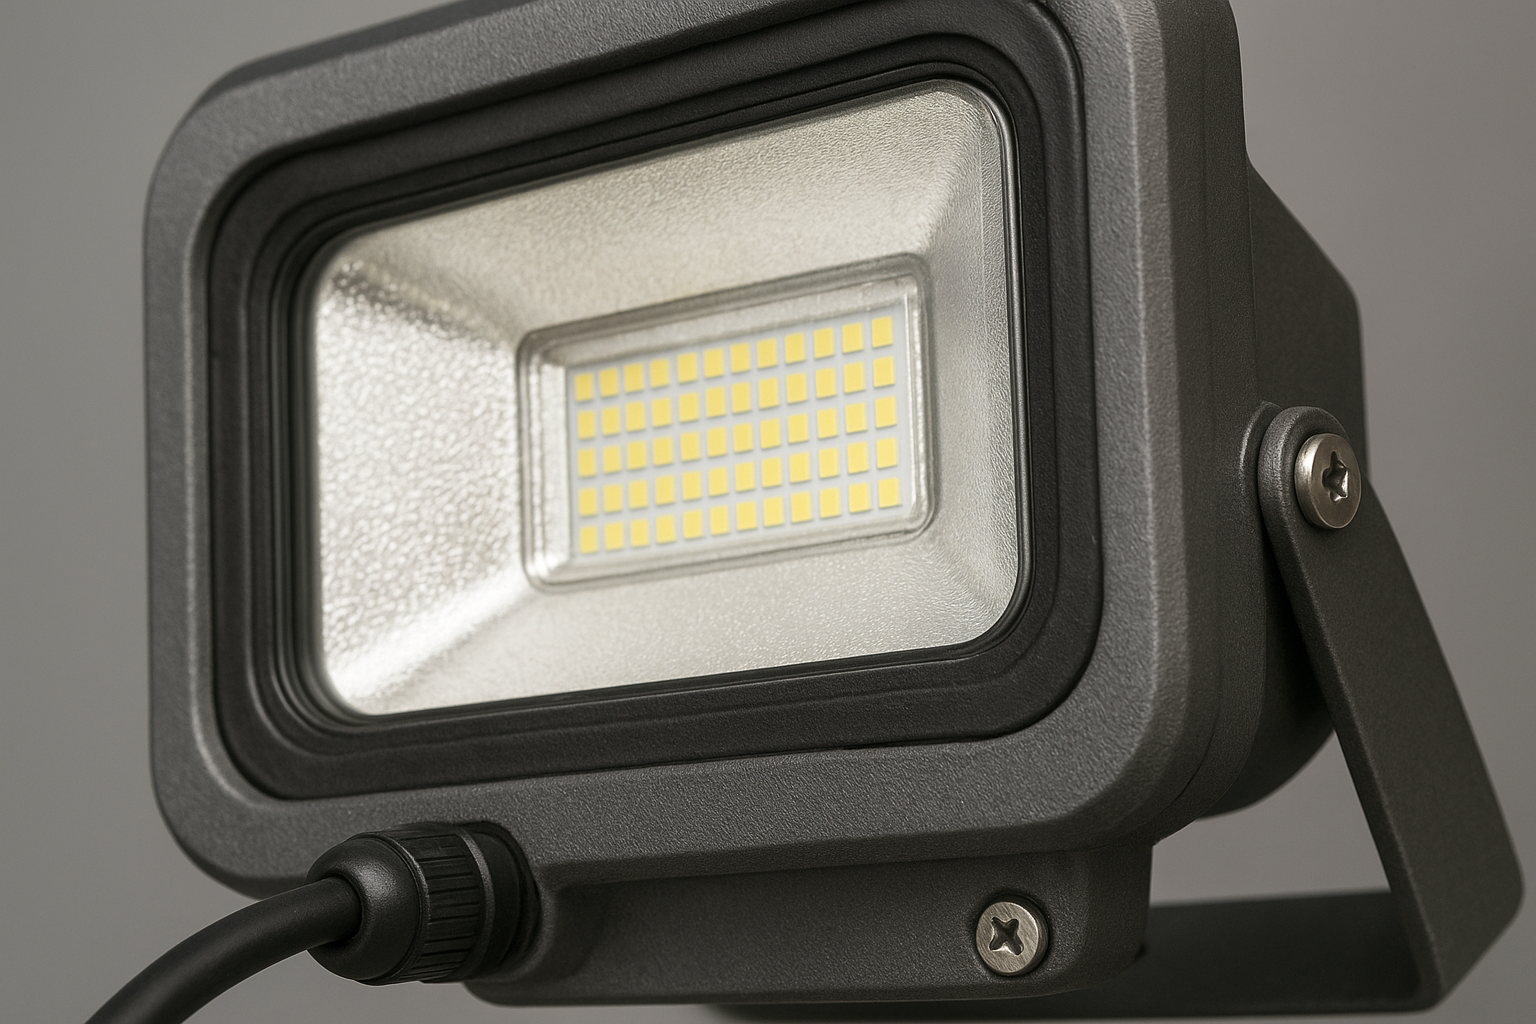
Environmental reliability | Outdoor products commonly advertise IP65 and IK08 class durability in the pro market (verify per model; e.g., Philips outdoor flood norms, 2025–2026). | Same guidance: check IP/IK, wind-load notes, and corrosion resistance per specific model and site. |
Compliance & warranty | Check IP/IK, safety class, and warranty terms model by model. | Same; varies by vendor and configuration. |
Typical best-for scenarios | Guest-facing spaces, temporary events, quick retrofits. | Industrial yards, high-latitude/winter sites, wide areas needing higher output or longer autonomy. |
If your priority is stable brightness through long winter nights or during consecutive cloudy days, split-type solar flood lights often come out ahead. Why: you can specify larger panels, tilt them for winter sun angles, and pair them with higher-capacity batteries without being boxed in by an all-in-one enclosure. That translates into steadier output on perimeters and loading bays when you need it most.
Practical notes you can apply tomorrow:
Plan mounting and alignment: give the panel an optimal tilt and orientation for winter irradiance; avoid shading from racking, stacked goods, or neighboring structures.
Protect and label cables: use UV-stable conduits and strain relief; keep junctions accessible for service.
Secure enclosures: lockable battery/controller housings, anti-tamper screws, and robust brackets reduce downtime.
Commission with controls: start with a conservative dimming schedule and enable motion boost near gates or high-traffic zones; tune after a week of observation.
Guest-facing spaces benefit from the clean silhouette and fast installs of integrated units. Many integrated solar flood lights are genuinely “mount-and-go”—documentation and case notes cite 3–10 minute installs with no trenching, and the cable-free look pairs well with paths, signage, and feature trees. If you run pop-up events or seasonal scenes, the one-piece form also makes relocation straightforward.
On-site tips that help:
Choose low-glare optics: honeycomb grids or diffusers keep light comfortable for guests and cameras.
Hide the hardware: favor wall or decorative pole mounts that match the landscape palette; route any accessory cables internally.
Use scene-based controls: set a gentle baseline brightness after dusk, then motion-boost near paths and entries to save energy without sacrificing safety.
5.1 Fast install cues you can spot during a walk-through
If your team needs sub-15-minute installs per fixture and minimal tools, integrated units are the safer bet. Multiple manufacturer sources describe installs in the single-digit minutes: Sunna Design’s parking project notes “under ten minutes,” while HeiSolar’s all-in-one families claim “within 5 mins,” and an integrated flood/security line cites “within 3 mins.” See the evidence on the publisher pages: Sunna Design case (2024–2025); HeiSolar KC and MHL AIO; HeiSolar SH integrated flood.
Split-type installs aren’t difficult, but they are multi-step: mount and align the panel, secure the battery/controller enclosure, mount the LED head, route cables with weatherproof connectors, and commission the controller profile. Budget more time and ensure a qualified installer.
Think of energy balance like a bank account: your “deposits” are daily sun hours; your “withdrawals” are lumen output over the night. Split-type systems let you increase the panel “income” (bigger, tilt-optimized modules) and the battery “savings” (more capacity), so they often keep paying out when winter “deposits” are small. Integrated systems keep things tidy and quick—but their compact housing caps how much panel and battery you can carry.
Controls are your fine-tuning tools on both architectures:
Dusk-to-dawn photocell to start automatically.
Time blocks to dim after late-night hours.
Motion boost (PIR or microwave) to spike brightness only when people or vehicles approach.
For a plain-language deep dive into control profiles and autonomy planning, see KEOU’s Ultimate Guide to Solar Street Light Control Modes.
Q1: Is rapid, low-labor installation your top priority? If yes → pick Integrated. If no → go to Q2.
Q2: Do you need longer winter runtime or higher output by upsizing panel/battery? If yes → pick Split-type. If no → go to Q3.
Q3: Is theft/tamper a major concern at the site? If yes → lean Integrated (or secure Split with anti-theft hardware). If no → weigh aesthetics and available labor.
If you’re defining terms or training a team, KEOU’s educational pieces cover the same architectures used in flood lights:
Integrated vs Split Solar Street Lights: 2026 Guide — KEOU Lighting for terminology and component layouts.
Ultimate Guide to Solar Street Light Control Modes — KEOU Lighting for control strategies you can adapt to flood-light projects.
Q1:Which is faster to install: split or integrated solar flood lights?
Integrated/all-in-one units are usually faster. Manufacturer pages and case notes report installs in roughly 3–10 minutes per unit with minimal tools; split-type systems involve multi-step mounting and cabling.
Q2:Are integrated solar flood lights safer from theft than split systems?
Typically yes, because there are fewer exposed components and cables to tamper with. In field anecdotes from rural deployments, fewer external parts correlated with lower theft exposure; still use secure mounts wherever you deploy them.
Q3:Which performs better in winter or cloudy climates?
Split-type often performs better because you can upsize and tilt the panels and pair larger batteries to keep runtimes stable during short-day periods.
Q4:What should I check first for an industrial yard perimeter?
Verify you can tilt and oversize the panel, specify higher battery capacity, secure enclosures with anti-tamper hardware, and set conservative dimming with motion boost at gates and corners.
Q5:Can I upgrade an integrated solar flood light later for more runtime?
Usually not in a big way, because the enclosure limits panel and battery size. If you foresee winter shortfalls or growth in coverage needs, start with a split-type configuration.
Looking for mount visuals or enclosure ideas as you plan installation of solar flood lights? KEOU’s broader flood-light family page is a helpful visual reference: KEOU Flood Lights.


