Author: Site Editor Publish Time: 16-09-2025 Origin: Site


Installing LED panel lights has become one of the most effective ways to modernize both residential and commercial spaces. Unlike traditional fluorescent fixtures, a panel light delivers a sleek design, uniform brightness, and long-lasting efficiency.
This guide explores the essential tools, preparations, and installation steps required to set up panel lights correctly. By the end, you’ll know exactly what equipment, electrical setup, and safety precautions are necessary to ensure smooth installation and optimal performance.
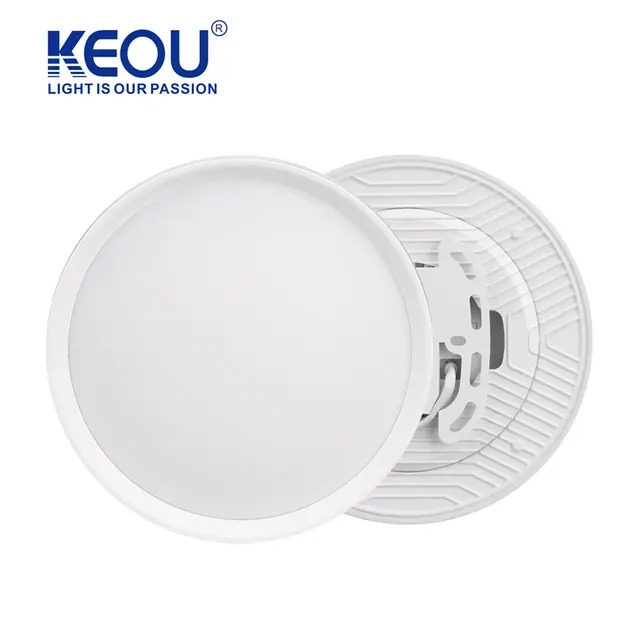
Before diving into installation, it’s important to recognize the core elements of a panel light system. Each component plays a vital role in how the light operates and fits into the ceiling structure.
| Component | Function |
|---|---|
| LED Panel Frame | Provides housing and support for LED chips and diffusers. |
| Light Guide Plate (LGP) | Ensures even distribution of light across the panel. |
| Diffuser | Softens and spreads light to prevent harsh glare. |
| LED Chips | The primary source of illumination. |
| Driver/Power Supply | Regulates power input and protects against voltage fluctuations. |
| Mounting Accessories | Brackets, clips, or suspension kits depending on the ceiling type. |
Knowing these parts helps you understand what must be present before installation begins. For instance, a high-quality driver prevents flickering, while sturdy mounting kits ensure safety over time.
When asking what is needed to install LED panel lights, one of the most practical answers is: the right tools. Without proper equipment, the installation process can be unsafe and inefficient.
| Tool/Equipment | Purpose |
|---|---|
| Screwdrivers | For securing brackets, drivers, or ceiling supports. |
| Drill & Drill Bits | To create mounting holes in hard surfaces. |
| Wire Strippers | Essential for safe electrical connections. |
| Voltage Tester | Ensures circuits are powered off before installation. |
| Ladder/Scaffold | Provides safe access to ceiling spaces. |
| Safety Gear | Gloves, goggles, and insulated shoes for electrical safety. |
Having these tools ready avoids interruptions and allows you to mount and connect the panel light in a streamlined manner.

A panel light cannot perform effectively without the right electrical setup. LED panels usually operate on low voltage DC power, but they connect to AC mains via a driver. Therefore, the installation demands careful attention to wiring and compatibility.
Voltage Range: Most LED panel drivers accept 100–240V AC, making them compatible with standard residential and office wiring.
Circuit Capacity: Ensure your circuit can handle the wattage load of multiple panel lights without overloading.
Grounding: Proper grounding is critical to avoid electric shocks or damage.
Dimming Options: If you plan to use dimmable panel lights, ensure the driver matches the dimmer type (e.g., TRIAC, 0–10V, or DALI).
Electrical planning is not just about power supply—it’s about ensuring long-term safety and energy efficiency.
Not all ceilings are built the same, and the method of installing a panel light depends heavily on ceiling type. Preparing the ceiling properly prevents misalignment or structural stress.
Recessed Mounting: Best for modular false ceilings with grid structures. The panel slides into the grid frame.
Surface Mounting: Requires brackets to attach the panel light directly onto solid ceilings.
Suspended Mounting: Uses suspension kits with wires or rods to hang panels at adjustable heights.
| Ceiling Type | Recommended Mounting |
|---|---|
| Grid/Drop Ceiling | Recessed |
| Concrete/Plaster Ceiling | Surface Mounted |
| High Ceilings/Decorative | Suspended |
Before installation, measure dimensions carefully and ensure adequate space for drivers or junction boxes.
A structured process is key to achieving a professional-quality installation. Below is a simplified breakdown:
Turn Off Power – Use a voltage tester to confirm the circuit is safe.
Prepare Mounting Area – Drill or set up the grid/suspension kit as required.
Install Brackets or Supports – Secure them tightly to prevent future sagging.
Connect Wires to the Driver – Match live, neutral, and ground connections properly.
Mount the Panel Light – Insert or secure the light into place.
Test the Panel Light – Switch on the circuit and check for flickering or uneven brightness.
Following these steps minimizes installation errors and prolongs the lifespan of the panel light.
Safety is one of the most overlooked aspects when people ask what is needed to install LED panel lights. A few key practices can protect both the installer and the fixture.
Always cut off power supply before wiring.
Use insulated tools to avoid accidental shocks.
Wear non-slip shoes when working on ladders.
Do not overload circuits; check wattage and breaker limits.
If uncertain, hire a licensed electrician to ensure compliance with electrical codes.
By combining proper equipment with careful attention to safety, the risk of accidents or malfunction reduces significantly.

Even with all tools and planning, mistakes can happen. Awareness of these pitfalls helps you save time and money.
Using the wrong driver – Can cause flickering or complete failure.
Skipping grounding – A serious safety hazard.
Loose wiring connections – May lead to sparks or fire risks.
Improper ceiling preparation – Results in uneven or unstable mounting.
Ignoring compatibility – Not all dimmers or mounting kits work with every panel light.
Learning from these mistakes ensures a smooth installation and better lighting results.
Once your panel light is installed, minimal upkeep keeps it working efficiently for years.
Regular Cleaning: Dust the diffuser and frame to maintain brightness.
Check Connections: Inspect wires and drivers periodically for wear.
Replace Drivers When Needed: Drivers usually wear out before LED chips; swapping them extends panel life.
Monitor for Flicker: Early flicker indicates electrical issues that need attention.
Proper maintenance complements the effort you put into installation, maximizing return on investment.
When exploring what is needed to install LED panel lights, the answer goes beyond simply buying a panel and mounting it. You need the right tools, correct electrical setup, ceiling preparation, safe installation practices, and ongoing maintenance. Each of these factors ensures your panel light provides the sleek, energy-efficient illumination it was designed for—without unnecessary risks or performance issues.
1: Can I install a panel light without professional help?
Yes, if you have basic electrical knowledge and the right tools. However, for large installations or complex wiring, hiring an electrician is recommended.
2: Do LED panel lights require special wiring?
Most come with drivers that connect directly to standard AC mains. Only dimmable or smart systems may require additional wiring.
3: How long does it take to install a panel light?
For a single recessed or surface-mounted unit, about 30–60 minutes if the ceiling is prepared.
4: Are panel lights suitable for all ceiling types?
Yes, but the mounting method changes depending on whether it’s a grid, plaster, or high ceiling.
5: What is the lifespan of an LED panel light?
Most high-quality panel lights last 40,000–50,000 hours, which equates to 10–15 years of use.