
Author: Site Editor Publish Time: 14-09-2026 Origin: Site


Procuring mismatched lighting components for commercial build-outs carries severe operational risks. Facility managers often face project delays, electrical hazards, and heavy restocking fees due to simple specification errors. A dangerous misconception persists in commercial lighting design: assuming visual similarity across track heads and rails guarantees physical or electrical compatibility. It does not. Retrofitting or scaling existing commercial lighting infrastructure is highly complex. Mounting mechanisms and electrical connections fundamentally differ across manufacturers. You cannot force an incompatible fixture onto an existing rail without risking electrical shorts or structural failure.
This guide introduces a systematic evaluation framework. We cover how to identify existing systems, match electrical requirements, and specify commercial-grade Track Lighting components. This approach ensures long-term scalability, adaptability, and energy efficiency. Proper specification eliminates installation roadblocks and protects your infrastructure investment.
System Standards Dictate Compatibility: Track lighting systems are generally categorized into three proprietary standards (H, J, and L); fixtures from one standard cannot safely or functionally connect to another due to differing mounting mechanisms.
Electrical Infrastructure Matters: Compatibility extends beyond physical fit, requiring alignment between line voltage (120V) or low voltage (12V/24V) systems, circuit types, and dimming protocols.
Application-Specific Adaptability: Selecting the right track lighting configuration is critical for specific commercial use cases, from highlighting retail products and gallery artwork to accentuating architectural features.
Component Trade-Offs Impact Maintenance: Choosing between integrated LED fixtures and replaceable bulb systems (GU10, MR16, E26) dictates long-term maintenance workflows and energy efficiency in commercial environments.
Load Limits are Non-Negotiable: Commercial installations must strictly adhere to maximum run lengths and wattage load capacities per circuit to maintain safety and compliance.
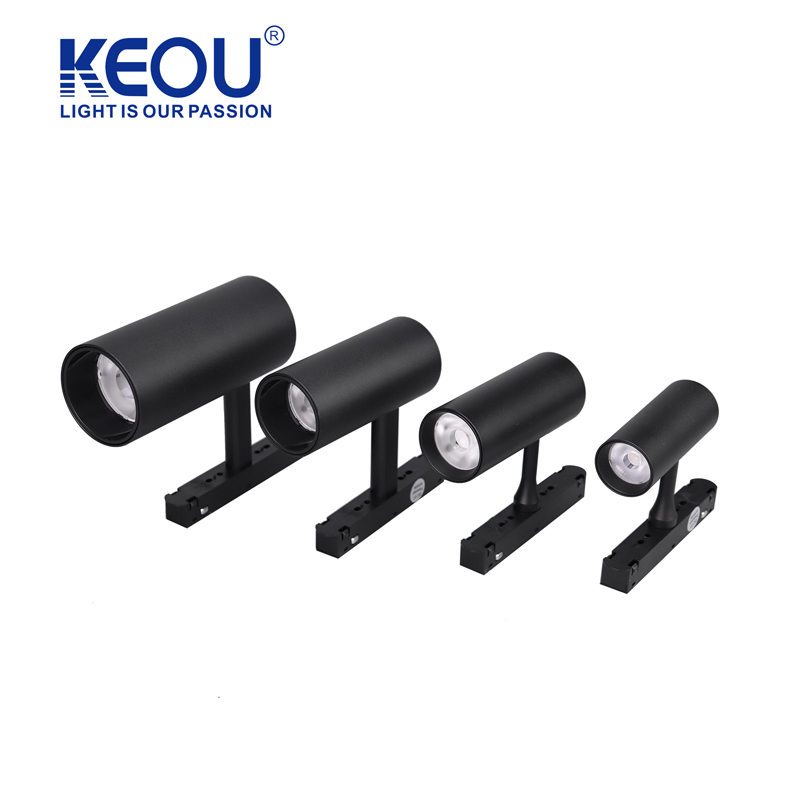
Establishing a physical baseline is the first step in any lighting upgrade. You must ensure newly procured fixtures securely lock into existing or planned track rails. They must also draw power safely without arcing. Purchasing fixtures based on online visual similarity is a frequent and costly mistake. Manufacturers design track heads to fit specific proprietary rail profiles. Forcing a mismatched head into a rail damages the internal copper busbars. This compromises the entire electrical circuit. Success requires identifying the exact standard currently installed before ordering replacement parts. Field technicians frequently encounter melted busbars caused by apprentices trying to jam incompatible heads into existing rails. You avoid this by understanding the three main standards.
The Halo, or H-Type, standard is the most prevalent track system in commercial environments. It utilizes a three-wire configuration. If you examine the fixture stem, you will notice a distinct contact layout. There are two metal contacts on one side of the stem. A single metal contact sits on the opposite side. This asymmetrical design ensures the fixture only inserts in one direction. It maintains correct polarity across the circuit. The ground tab on an H-Type fixture aligns with a specific groove on the track rail, preventing reverse installation.
Because of its massive market share, H-Type systems offer significant advantages for facility managers. Replacement parts, alternative fixture heads, and compatible accessories are widely available. You can easily source H-Type components from multiple manufacturers. This prevents vendor lock-in and streamlines maintenance across large commercial portfolios. When a retail tenant moves out, the incoming tenant can easily adapt an H-Type system to their specific floor plan without tearing out the ceiling infrastructure.
The Juno, or J-Type, standard features a different physical configuration. J-Type fixture stems have two contacts located on the same side. These contacts are spaced exactly one inch apart. The track rail itself has a wider profile compared to H-Type systems. The internal busbars align specifically with this one-inch spacing. The contact pins on J-Type heads are often spring-loaded, requiring a firm push and twist to engage the circuit.
J-Type systems are renowned for their robust structural locking mechanism. When you twist a J-Type head into the rail, it engages with a heavy-duty mechanical click. This secure fit makes J-Type highly reliable in high-traffic commercial environments. It is frequently specified in spaces subject to vibration, such as retail stores located near transit hubs, industrial lofts, or gymnasiums. The strong mechanical connection prevents fixtures from shifting out of alignment over time, maintaining the original lighting design intent.
The Lightolier, or L-Type, standard is visually similar to the J-Type but physically incompatible. L-Type fixture stems also feature two contacts on the same side. However, these contacts are spaced exactly 7/8 of an inch apart. This 1/8-inch difference means an L-Type head will never successfully lock into a J-Type rail, and vice versa. Attempting to force it will snap the plastic stem or bend the contact pins.
L-Type systems traditionally dominate specific architectural applications. Lighting designers often specify L-Type tracks for high-end galleries, museums, and bespoke hospitality venues. The track rails are often slimmer and less visually intrusive, making them ideal for shallow ceiling plenums or minimalist architectural designs. While replacement parts are readily available, the ecosystem is slightly more specialized than the ubiquitous H-Type standard. You will often find L-Type systems integrated into custom millwork or suspended from high-tension aircraft cables in modern office lobbies.
Facility managers must follow a strict diagnostic process to identify existing tracks. Guesswork leads to procurement failures. Follow these specific steps to determine your track standard before ordering any new Track Lighting components:
Isolate the power: Turn off the breaker supplying power to the track run before attempting any physical inspection.
Remove a functional head: Pull down the locking collar and twist the fixture 90 degrees to remove it from the rail.
Measure the contact distance: Use a caliper or a precise ruler to measure the distance between the metal contacts on the stem. A 1-inch gap indicates J-Type. A 7/8-inch gap indicates L-Type.
Count the contacts: If the stem has two contacts on one side and one on the other, you have an H-Type system.
Check manufacturer stamps: Inspect the inside of the track rail with a flashlight. Look for stamped letters (H, J, or L) near the power feed or end caps.
Analyze the internal wire layout: Look up into the rail channel. H-Type rails have two copper wires on one side and one on the opposite side. J and L types have a different internal busbar arrangement.
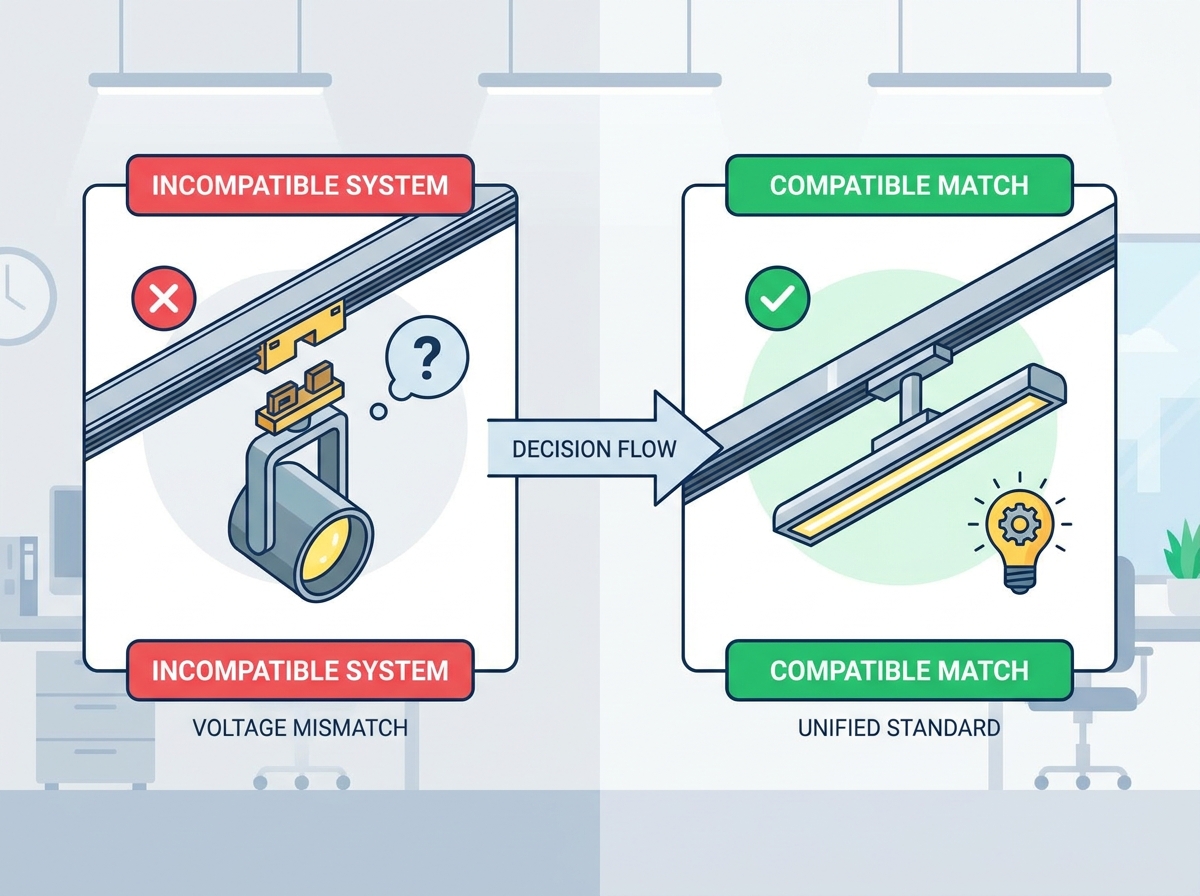
Commercial track installations operate on either line voltage or low voltage. Line voltage systems run directly on standard 120V grid power. They offer direct-to-grid simplicity. You do not need external transformers. This reduces the number of components that can fail over time. Line voltage tracks are ideal for general retail, large open offices, and expansive commercial corridors. The wiring is straightforward, typically utilizing standard 12 AWG copper wire pulled directly to the canopy junction box.
Low voltage systems operate at 12V or 24V. They require step-down transformers to convert the 120V grid power. These transformers can be integrated into the track canopy or mounted remotely in an accessible ceiling hatch. Low voltage systems provide precise beam control. The fixtures are typically smaller and have a reduced physical footprint. This makes them perfect for high-end display cases and intimate gallery settings. However, the transformers introduce point-of-failure risks. If a remote transformer fails, the entire track run goes dark. Furthermore, low voltage systems are susceptible to voltage drop over long runs. If a 12V track is too long, the fixtures at the far end will appear noticeably dimmer than those near the power feed.
Track rails come in single-circuit and dual-circuit configurations. A single-circuit track has one live wire and one neutral wire. All fixtures attached to this rail turn on, turn off, and dim together. This works well for basic ambient illumination where zoned control is unnecessary.
Dual-circuit tracks contain two live wires and one shared neutral. This provides a massive operational advantage in commercial spaces. You can attach two different sets of fixtures to the same physical rail and control them independently. For example, you can switch ambient wall-washers on one circuit while keeping focused accent spotlights on the second circuit. This allows facility managers to alter the lighting atmosphere without installing a second physical track rail on the ceiling. To assign a fixture to the second circuit, you typically raise a small mechanical tab on the fixture stem before inserting it into the rail. This tab makes contact with the upper busbar inside the track.
Dimming LED track fixtures requires precise technical alignment. You cannot use legacy incandescent dimmers with modern LED drivers. Doing so causes severe flickering, audible buzzing, and premature driver failure. LED drivers require specific dimming protocols to chop the electrical sine wave correctly.
You must verify the compatibility matrix between the track transformers, the LED drivers inside the fixtures, and the wall-box dimmers. Electronic Low Voltage (ELV) dimmers are generally required for modern integrated LED track heads. Magnetic Low Voltage (MLV) dimmers are used for older magnetic transformer systems. Always consult the fixture manufacturer's dimmer compatibility sheet before finalizing your control system specification. Mismatched dimming protocols will void warranties and degrade the lighting environment.
Dimming Protocol |
Primary Application |
Technical Characteristics |
Common Compatibility Issues |
|---|---|---|---|
Standard Incandescent (TRIAC) |
Legacy halogen or incandescent track heads. |
Forward-phase dimming. Cuts the leading edge of the AC power cycle. |
Causes severe flickering and buzzing when paired with modern LED drivers. |
Electronic Low Voltage (ELV) |
Modern integrated LED track fixtures. |
Reverse-phase dimming. Cuts the trailing edge of the AC power cycle. Requires a neutral wire. |
Requires specific wiring at the switch box. Cannot be used with magnetic transformers. |
Magnetic Low Voltage (MLV) |
Older low-voltage tracks with heavy magnetic transformers. |
Forward-phase dimming designed to handle inductive loads. |
Incompatible with electronic transformers. Can cause voltage spikes if mismatched. |
0-10V Dimming |
Large-scale commercial architectural lighting. |
Sends a separate low-voltage DC signal to tell the driver how much to dim. |
Requires pulling two additional low-voltage control wires alongside the main power lines. |
Selecting the right configuration depends entirely on the commercial use case. Different environments demand specific photometric outputs and physical adjustments. You must match the fixture's capabilities to the tasks performed in the space.
Retail & Product Displays: Retail environments utilize precise beam control and high-lumen outputs. The goal is to draw attention to merchandise and influence buyer behavior. High-contrast lighting creates visual hierarchy. It guides the customer's eye toward premium products. Track heads with adjustable snoots, barn doors, and honeycomb louvers are necessary here. These accessories cut off peripheral glare, ensuring the light hits the product and not the customer's eyes.
Galleries & Museums: Illuminating artwork requires strict preservation standards. You must specify UV-free LED track lighting. Adjustable heads allow curators to frame specific canvases. The fixtures must safely illuminate artwork without causing heat degradation or pigment fading over time. Framing projectors are often used in these settings to shape the light beam exactly to the dimensions of the painting, creating a self-illuminated effect.
Architectural Highlighting: Corporate lobbies and hospitality venues use lighting to emphasize space. Deploying wall-washers and wide-flood heads accentuates structural elements. This technique highlights textured walls, architectural columns, and expansive ceiling features. It creates a sense of volume and depth in commercial spaces. Wall washing requires fixtures with asymmetrical reflectors to push light evenly down a vertical surface without creating hot spots near the ceiling.
Facility managers must choose between integrated LED fixtures and replaceable bulb systems. This decision dictates long-term maintenance workflows and energy consumption across the facility.
Integrated LED fixtures house the diode and driver permanently within the casing. They offer superior thermal management because the entire aluminum body acts as a heat sink. This results in a much longer lifespan, often exceeding 50,000 operating hours. They are highly energy-efficient and provide massive lumen output from a small form factor. However, they carry a higher upfront capital expenditure. When an integrated fixture eventually fails, you must replace the entire unit, which requires sourcing a visually matching head years after the original installation.
Replaceable bulb systems utilize standard bases like GU10, MR16, or E26. They have a lower initial purchase price. They offer flexibility in swapping beam angles or color temperatures simply by changing the bulb. If a retail display changes from warm autumn tones to cool winter tones, you just swap the bulbs. However, they require higher maintenance overhead. Staff must physically climb ladders to replace burnt-out bulbs frequently. Furthermore, the thermal management is poor because the heat is trapped within the small bulb housing, leading to faster degradation of the LED chips.
Feature |
Integrated LED Systems |
Replaceable Bulb Systems (GU10/MR16) |
|---|---|---|
Initial Capital Expenditure |
Higher upfront cost per fixture. |
Lower initial purchase price. |
Maintenance Overhead |
Very low. Replace entire unit every 5-10 years. |
High. Requires frequent bulb replacements. |
Thermal Management |
Superior. Heat sinks are built into the fixture design. |
Poor. Heat is trapped within the bulb housing. |
Design Flexibility |
Fixed beam angles and color temperatures. |
High. Swap bulbs to change beam spread or color. |
Energy Efficacy |
Maximum efficacy (high lumens per watt). |
Moderate efficacy due to driver constraints in the bulb. |
Commercial lighting requires precise photometric specifications. You cannot rely on generic wattage metrics to determine light quality. Wattage only measures power consumption, not light output or quality.
Color Rendering Index (CRI): CRI measures how accurately a light source reveals the true colors of objects compared to natural sunlight. Retail and gallery spaces require a CRI greater than 90. This ensures accurate product and art representation. A low CRI makes red fabrics look muddy brown and artwork appear flat. High CRI lighting increases perceived value in retail environments.
Color Temperature (CCT): CCT dictates the warmth or coolness of the light. It is measured in Kelvin (K). Map CCT ranges to specific commercial use cases. Warm hospitality environments, restaurants, and hotel lobbies typically use 2700K to 3000K to create an inviting atmosphere. Crisp, clinical office spaces, jewelry stores, or modern retail environments perform better with 4000K to 5000K to emphasize clarity and cleanliness.
Beam Angle and Spread: Beam angle determines how light distributes from the fixture. Select spot heads (15°) for highlighting small merchandise or specific artwork from a high ceiling. Use flood heads (36°) for general display areas or mannequins. Deploy wide flood heads (60°) for ambient lighting or wall washing. Base your selection on ceiling height and target display size. A 15-degree spot mounted on a 12-foot ceiling will produce a tight, intense pool of light, whereas a 60-degree flood at the same height will wash the entire floor area.
Commercial installations must strictly adhere to the National Electrical Code (NEC) guidelines. Track lighting load calculations are strictly regulated under NEC Article 410. You cannot simply add fixtures to a rail until it is physically full. You must calculate the maximum fixture count based on circuit amperage and wire gauge.
The NEC mandates the 80% rule for continuous loads. Commercial lighting is considered a continuous load because it operates for more than three hours at a time. If you have a standard 20-amp circuit at 120 volts, the total theoretical capacity is 2400 watts. However, you can only utilize 80% of that capacity to prevent breaker tripping and wire overheating. Therefore, your maximum safe load is 1920 watts. You must divide 1920 by the wattage of your selected track heads to determine the maximum number of fixtures allowed on that specific circuit run. If you select 15W LED heads, you can safely install 128 fixtures on that 20-amp circuit. Always verify these calculations with a licensed electrician.
Upgrading to modern LED track infrastructure impacts operational costs immediately. Significant wattage reductions lower monthly utility bills. Replacing legacy 50W halogen MR16 bulbs with 8W LED equivalents yields massive energy savings across a large retail footprint. This reduction in heat output also lowers the burden on the building's HVAC system, compounding the energy savings.
Furthermore, specifying high-efficiency, compliant fixtures unlocks commercial energy rebates. Many local utility companies offer financial incentives for upgrading commercial lighting. Facility managers should consult the DesignLights Consortium (DLC) qualified products list. Selecting DLC-listed fixtures often guarantees eligibility for these lucrative rebate programs, accelerating the return on investment. Ensure your procurement team keeps all specification sheets and invoices, as utility companies require strict documentation to process rebate claims.
Physical limitations dictate how you install track rails. You must choose between suspended and flush-mounted tracks based on ceiling infrastructure. Flush-mounted tracks attach directly to the ceiling joists, concrete decking, or drywall. Suspended tracks drop down via aircraft cables or rigid threaded pendants to bring the light source closer to the merchandise.
Heavy, high-lumen commercial track heads exert significant downward force. If you overload a suspended track, the rail will warp. In severe cases, ceiling anchors will fail, causing the entire system to collapse. Mitigation strategies include installing additional mounting points every two feet instead of the standard four feet. When mounting to drywall, never rely on standard plastic anchors. Use heavy-duty toggle bolts. When mounting to drop ceilings, secure the track directly to the true ceiling above using independent support wires, rather than relying on the T-bar grid to hold the weight.
Selecting proprietary or obscure track systems introduces severe strategic risk. If a niche manufacturer goes out of business, you will not be able to source replacement heads or rails. This forces a complete and costly system tear-out when a few fixtures fail or when you need to expand the lighting layout.
Advise your procurement team to standardize lighting infrastructure across multiple commercial locations. Stick to the ubiquitous H, J, or L standards. Standardization streamlines procurement. Facility managers can keep a centralized inventory of replacement parts. Maintenance teams do not need to learn different diagnostic procedures for every building in the portfolio. A standardized approach ensures that a track head pulled from a warehouse in Texas will perfectly fit a retail location in New York.
Track lighting compatibility is a rigid technical requirement, not a flexible design suggestion. Mismatched components will fail due to incompatible mounting mechanisms and electrical connections. Forcing incorrect parts together creates severe electrical hazards and voids manufacturer warranties. Success relies on accurate identification and precise electrical matching.
The shortlisting logic is straightforward. First, audit your existing track type to determine if it is H, J, or L standard. Second, verify your voltage requirements and circuit load capacity. Finally, select fixtures based on photometric needs, commercial application, and your facility's maintenance capabilities.
Take the following actions before finalizing your lighting procurement:
Audit your existing ceiling infrastructure to identify the exact track standard (H, J, or L) using the physical measurement methodology.
Calculate your maximum continuous load based on the NEC 80% rule to determine how many fixtures your current breakers can support.
Cross-reference your selected LED track heads with your wall dimmers to ensure ELV or MLV protocol compatibility.
Order a single sample fixture to physically test the locking mechanism and beam spread on your existing rail before authorizing bulk orders.
A: Brand matters less than the specific track standard (H, J, or L). Many different brands manufacture H-Type fixtures that fit H-Type rails. However, cross-brand mixing requires strict verification of the contact layout and mounting mechanism. Never assume compatibility based on brand name alone.
A: Physical fit is the primary hurdle. If the older track is a standard line-voltage H, J, or L system, LED heads designed for that exact standard will physically fit. However, you must upgrade the wall dimmers to handle LED loads to prevent flickering and driver damage.
A: Remove a fixture and measure the contacts on the stem. A 1-inch distance indicates J-Type. A 7/8-inch distance indicates L-Type. If the stem has two contacts on one side and one on the opposite side, it is an H-Type system.
A: The maximum number depends on your total circuit amperage. You must follow the 80% continuous load rule. Calculate 80% of the circuit's total wattage capacity, then divide that number by the combined wattage of your specific track heads to find the limit.
A: Yes. Modern LED track systems require specific Electronic Low Voltage (ELV) or Magnetic Low Voltage (MLV) dimmers. Standard incandescent dimmers are incompatible with LED drivers. Using them will cause severe flickering and permanently damage the lighting fixtures.
A: Replaceable systems commonly use GU10, MR16, and E26 bases. GU10 and MR16 are typically used for focused accent lighting. E26 is a standard medium base used for larger flood applications. These require more maintenance compared to integrated LED modules.


