
Author: Site Editor Publish Time: 14-09-2026 Origin: Site


Table of Contents
Accumulation of dust and particulate matter on lighting fixtures does more than degrade interior aesthetics; it measurably reduces optical efficiency and lumen output. Improper cleaning techniques—such as using abrasive materials or incompatible chemical solvents—can permanently damage delicate metallic finishes, short-circuit integrated electrical components, and void manufacturer warranties. This guide provides an evidence-based evaluation of fixture cleaning methodologies, establishing strict protocols for safely maintaining everything from a standard indoor setup to complex, integrated systems, including newly acquired second-hand restorations. We outline the exact physical and chemical boundaries required to preserve optical clarity, prevent thermal degradation, and eliminate electrical hazards during routine maintenance.
Thermal Management is Critical: Dust acts as an insulator; removing it from an LED light heat sink is essential for preventing premature diode failure and maintaining color consistency.
Material Dictates Methodology: Glass, fabric, and specialized metal finishes require distinct, non-interchangeable cleaning solutions to prevent micro-abrasions and chemical etching.
Moisture is a Liability: The default approach for modern fixtures should prioritize dry, static-based dust removal, utilizing distilled water and mild detergents only when dismantling allows for complete moisture isolation.
Risk Mitigation First: Complete power isolation at the breaker—not just the wall switch—is a mandatory prerequisite before introducing any liquid to a luminaire housing.
Maintaining lighting fixtures extends far beyond basic housekeeping. Particulate accumulation directly impacts the physical performance and longevity of the hardware. Understanding the mechanics of how dirt and debris interact with lighting components establishes a baseline for effective maintenance protocols. When you ignore these physical realities, you compromise both the safety and the output of your electrical systems.
A seemingly insignificant 1mm layer of dust can reduce a fixture's light output by up to 30%. This phenomenon, known in the lighting industry as dirt depreciation, scatters and absorbs photons before they reach the intended illumination target. When optical clarity degrades, occupants often compensate by adding supplementary lighting or upgrading to higher-wattage bulbs. This inadvertently wastes energy and increases thermal loads on the existing wiring. Restoring the original lumen output requires removing this particulate barrier without scratching the underlying lenses, reflectors, or diffusers. Scratched reflectors scatter light unpredictably, creating glare and reducing the foot-candles delivered to the work surface below.
Heat is the primary enemy of solid-state lighting. Unlike traditional incandescent bulbs that project heat forward via infrared radiation, a modern LED Light draws heat backward into a specialized aluminum heat sink. When dust blankets these metal fins, it acts as a highly effective thermal insulator. This trapped heat raises the internal operating temperature of the driver and the diode array. Prolonged exposure to elevated temperatures dries out electrolytic capacitors, accelerates lumen depreciation, and causes color shifting. Color shifting occurs when the heat degrades the phosphor coating, causing the light output to visibly shift into a harsh blue or green spectrum. Regular dry dusting of the heat sink prevents this thermal bottleneck and ensures the fixture reaches its rated lifespan.
The ultimate success criterion for cleaning any luminaire is restoring optical clarity and finish integrity without introducing secondary damage. Micro-scratches on clear acrylic lenses create glare and distort light distribution. Chemical degradation from improper solvents strips the protective clear lacquer off brass, bronze, or copper housings, leading to rapid, uneven oxidation. A successful maintenance routine preserves the original factory finish while completely removing environmental contaminants like aerosolized cooking grease, pet dander, and airborne silica.
Introducing physical manipulation and potential moisture to electrical appliances carries inherent risks. Establishing strict safety protocols prevents electrical shock, thermal burns, and accidental property damage. Never bypass these steps, even for a quick dusting.
Relying solely on a wall switch to cut power to a fixture is a dangerous oversight. Wall switches only interrupt the hot wire. Depending on how the building was wired, the neutral wire may still carry a return current, or phantom voltage may be present from shared circuits. Complete power isolation at the main breaker panel is a mandatory prerequisite before dismantling any housing or introducing a damp cloth near a socket. Verify the circuit is dead using a reliable non-contact voltage tester before proceeding. Touch the tester to the socket base and the surrounding metal housing to confirm zero voltage.
Lighting components retain extreme heat long after the power is severed. Halogen and high-wattage incandescent bulbs easily reach surface temperatures exceeding 500°F (260°C). High-output drivers also retain significant thermal mass inside their metal enclosures. Establish a mandatory wait time of 15 to 30 minutes after cutting power at the breaker. Attempting to clean hot glass with a damp cloth causes immediate thermal shock, shattering the shade in your hands. Furthermore, handling hot halogen bulbs transfers skin oils to the quartz envelope. These oils carbonize when the bulb is turned back on, creating localized hot spots that cause the bulb to blister and fail prematurely.
Dismantling overhead fixtures requires working at height with fragile, often irreplaceable components. Secure a stable, appropriately sized fiberglass step ladder to ensure you are working comfortably at chest level rather than overreaching. Place thick drop cloths or heavy moving blankets directly beneath the workspace. This mitigates the risk of shattering glass shades or denting metal components if they slip from your hands. Keep a magnetic parts tray on the ladder shelf to secure small mounting screws, decorative finials, and retaining rings during the dismantling process. Losing a proprietary mounting screw often renders the entire fixture unusable.
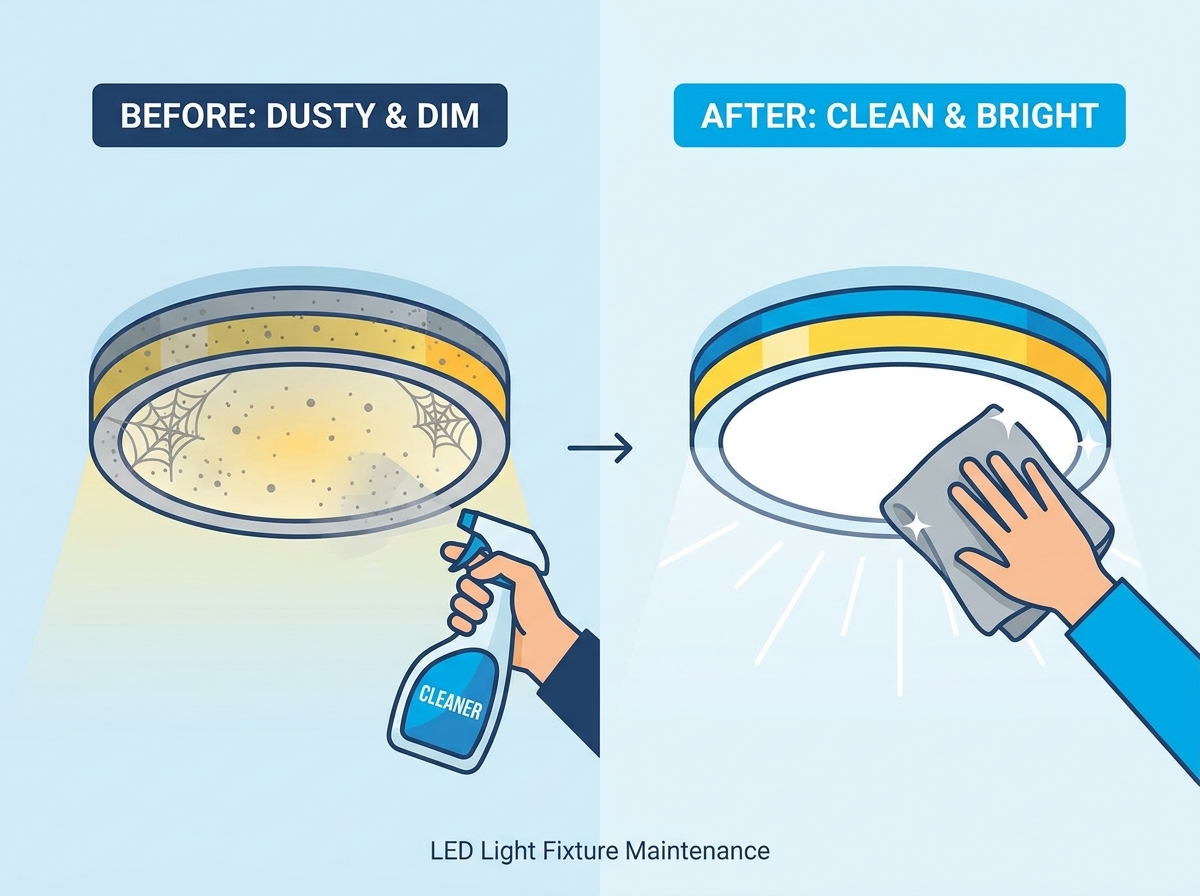
Luminaires are constructed from a diverse array of materials, each demanding a specific chemical and physical approach. Applying a universal cleaning method across all surfaces guarantees material failure. You must identify the substrate before selecting your cleaning agent.
Glass shades, crystal prisms, and frosted diffusers require careful handling to maintain their refractive properties and structural integrity.
Dry Microfiber Wiping: This is the primary method for routine maintenance. High-GSM microfiber traps dust via static charge rather than pushing it around the surface.
Damp Cleaning Trade-offs: When grease binds dust to glass, dry wiping fails. Use a solution of distilled water mixed with a single drop of mild dish detergent. Avoid commercial glass cleaners containing ammonia. Ammonia overspray rapidly degrades the protective clear coats on adjacent metal clips, pins, and housing frames, leading to rust.
The Dishwasher Debate: Never place glass fixture shades in a dishwasher. The rapid temperature fluctuations cause severe thermal stress, leading to micro-fractures. Commercial dishwasher detergents are highly alkaline and contain abrasive silicates that permanently etch clear glass, leaving it cloudy and structurally compromised. Hand-washing in a plastic basin lined with a towel is the only acceptable method.
Architectural metals used in lighting are rarely raw. They are heavily treated with patinas, lacquers, or powder coats to lock in a specific aesthetic and prevent tarnishing.
Chemical Compliance: Acidic cleaners like vinegar or lemon juice, abrasive scouring powders, and standard household all-purpose sprays strip factory lacquers. Once the lacquer is breached, the underlying metal oxidizes rapidly from ambient humidity.
Best Practice: Execute a dry dusting pass first to remove loose silica particles that could act as sandpaper. Follow up by wiping the metal with a slightly damp, lint-free cloth. Immediately follow this with a dry buffing cloth. Allowing water to air-dry on metallic finishes leaves mineral deposits and water spots that are exceptionally difficult to remove without aggressive polishing compounds.
Pendant drums and sconce shields made from linen, silk, parchment, or rattan present unique maintenance challenges because they are highly porous and easily deformed.
Implementation Realities: Liquid cleaning is impossible for these materials. Moisture causes water rings, warps paper backings, and rusts the internal wire frames, leading to permanent discoloration bleeding through the fabric.
Tool Selection: Utilize compressed air canisters held at least 12 inches away from the surface to blow out pleated crevices. For flat fabric panels, use a low-tack lint roller to lift embedded dust. Alternatively, a soft-bristled upholstery brush attachment on a vacuum cleaner set to the lowest suction power effectively removes particulate matter without altering the shade's structural integrity.
The internal architecture of the luminaire dictates the aggressiveness of the cleaning protocol. Sealed systems and modular systems require fundamentally different handling to prevent electrical shorts and component damage.
Modern architectural lighting often utilizes integrated diode arrays rather than replaceable bulbs. These systems feature exposed circuit boards, delicate phosphor coatings on the diodes, and sensitive driver electronics. Moisture ingress into the diode array or driver housing causes immediate catastrophic failure. Maintenance must be strictly limited to dry cleaning. Use static dusters, clean makeup brushes, or compressed air to clear the heat sinks and lenses. Never apply liquid directly to an exposed board, and avoid touching the yellow phosphor centers of the diodes. Physical pressure easily detaches the microscopic wire bonds connecting the diode to the board.
A traditional Indoor Light relies on threaded sockets. Before cleaning, safely remove the bulbs and clean them separately with a dry cloth. Inspect the interior of the socket. It must remain completely dry and free of debris. Any moisture or residual cleaning solvent inside the socket causes corrosion on the contact points. This corrosion leads to electrical arcing, flickering, and potential fire hazards. If dust has settled inside the socket, blow it out with compressed air while the breaker remains off.
Thrifted chandeliers and vintage sconces carry unknown histories. The electrical integrity is often compromised by brittle, cloth-insulated wiring, and the metallic patinas are usually degraded from decades of neglect.
Risk Assessment: Never bend or stress vintage wires during the cleaning process. Old insulation cracks easily, exposing bare copper and creating an immediate shock hazard. Avoid submerging any vintage socket assembly in water.
Methodology: Conduct a gentle dry wipe first to assess the stability of the finish. Flaking paint or deteriorating lacquer requires extreme caution. For heavy grime, use a slightly damp microfiber cloth with pure distilled water.
Testing: Always test an inconspicuous area, such as the ceiling canopy or the back of a sconce, first to ensure the original finish isn't compromised by the friction or moisture.
The physical tools and chemical solvents utilized during maintenance dictate the final result. Selecting the wrong implement guarantees surface damage, while the right tools make the process efficient and safe.
Tool / Solvent | Primary Application | Risk Profile & Trade-offs |
|---|---|---|
High-GSM Microfiber Cloth | Dry dusting, final buffing of glass and metal. | Low risk. Traps dust via static. Must be washed without fabric softeners to prevent streaking on glass. |
Paper Towels | Not recommended for fixture maintenance. | High risk. Manufactured from wood pulp; highly abrasive. Leaves micro-scratches on acrylic lenses and lint residue on glass. |
Distilled Water | Damp wiping heavily soiled glass and stable metals. | Low risk. Zero mineral content ensures no hard water spots are left behind upon evaporation. |
Tap Water | General washing of dismantled glass shades. | Moderate risk. Calcium and magnesium content leaves permanent white etching spots if not hand-dried immediately. |
Soft Paintbrushes | Navigating intricate crevices, crystals, and heat sinks. | Low risk. Effectively dislodges dust from tight geometries without snagging delicate internal wiring. |
Adhering to strict operational boundaries prevents accidental damage during routine cleaning. Memorize these rules before setting up your ladder.
Do: Isolate power at the main breaker panel before dismantling any overhead fixture.
Do: Use only distilled water and high-GSM microfiber cloths for damp cleaning to prevent mineral spotting and surface abrasion.
Do: Test any cleaning solution on an inconspicuous area of vintage, painted, or lacquered fixtures before full application.
Do: Photograph complex chandeliers before dismantling to ensure accurate reassembly of crystals and hardware.
Don't: Use ammonia-based glass cleaners near metal hardware, as it strips protective clear coats.
Don't: Put vintage or delicate glass shades in the dishwasher; thermal shock will destroy them.
Don't: Spray liquids directly upward into a hanging fixture, as gravity pulls moisture directly into the electrical socket or driver housing.
Don't: Spin or rotate hanging fixtures while cleaning them in place, as this twists the internal wiring and causes electrical shorts.
Maintenance strategies must adapt to the specific environment and the level of soil accumulation. Balancing time investment against cleaning efficacy requires understanding when to clean in place and when to fully dismantle the unit.
Routine maintenance prevents dust from bonding to surfaces via ambient humidity. This process involves cleaning the fixture while it remains fully assembled and mounted to the ceiling or wall. Use this method for bi-weekly dusting of accessible hallway sconces, bedroom flush mounts, and living room pendants. It requires a very low time investment and minimizes the risk of dropping components. However, aggressive wiping can accidentally push dust deeper into the fixture housing or misalign the mounting hardware. Use gentle, sweeping motions with a static duster.
When environmental factors cause particulate matter to adhere stubbornly to the fixture, dry dusting becomes ineffective. Dismantling involves removing shades, diffusers, and bulbs for isolated washing. Use this method for bi-annual cleaning, heavily soiled kitchen fixtures suffering from grease accumulation, or complex crystal chandeliers that have lost their refractive brilliance. It demands a high time investment and introduces handling risks. However, it allows for safe, isolated washing of non-electrical components in a basin, ensuring complete removal of bonded grime without risking moisture ingress into the electrical housing.
The location of the luminaire dictates the frequency and intensity of the required maintenance. Kitchens and bathrooms require quarterly deep cleaning. Kitchens produce aerosolized cooking grease that binds with airborne dust, creating a sticky residue that dry cloths cannot remove. Bathrooms generate high humidity, which turns loose dust into a caked-on layer. Dismantling and washing with a mild surfactant is necessary for these zones. Conversely, standard fixtures in dry living areas typically only need bi-annual seasonal maintenance using dry dusting methods. The primary contaminants here are dry skin cells, pet dander, and fabric fibers, which lift easily with static microfiber.
Establish a bi-weekly dry dusting schedule for all accessible fixtures using high-GSM microfiber to prevent particulate bonding.
Schedule a bi-annual deep clean for kitchen and bathroom fixtures to remove aerosolized grease and humidity-caked dust.
Audit your cleaning supplies immediately to ensure paper towels and ammonia-based sprays are permanently removed from your maintenance toolkit.
Invest in a dedicated soft-bristled detailing brush and a non-contact voltage tester for safe, scratch-free maintenance.
A: While some heavy glass shades survive a dishwasher cycle, we strongly advise against it. High heat and abrasive alkaline detergents etch the glass, degrade painted finishes, and cause micro-fractures. Hand washing with mild soap in a plastic basin remains the safest method to preserve structural integrity.
A: The best cleaner is no liquid at all. Use a dry microfiber cloth or a soft-bristled brush to remove dust from the heat sink and housing. If the exterior housing is stained, use a lightly damp cloth with distilled water. Ensure zero moisture reaches the diodes or driver.
A: Paper towels consist of wood pulp, making them inherently abrasive. They leave micro-scratches on delicate metallic finishes, acrylic lenses, and frosted glass. They also leave behind lint residue that catches future dust, defeating the purpose of cleaning. Always use high-GSM microfiber instead.
A: Ensure the power is off at the breaker and the bulbs are cool. Use a static duster or a dry microfiber cloth to gently wipe the exterior. For intricate parts, use a clean, soft paintbrush to dislodge dust. Never spray liquids upward into a hanging fixture.
A: Standard glass cleaners contain ammonia, which strips protective lacquers off metal hardware and degrades certain plastics. If you must clean glass components with these solutions, spray the ammonia-free liquid directly onto your cloth away from the fixture, rather than spraying the fixture itself.
A: Start with a dry microfiber cloth to assess finish stability. Avoid harsh chemicals, as older lacquers and patinas strip easily. For deep cleaning, use a barely damp cloth with distilled water. Never submerge vintage wiring or sockets, as brittle insulation will fail and cause electrical shorts.


